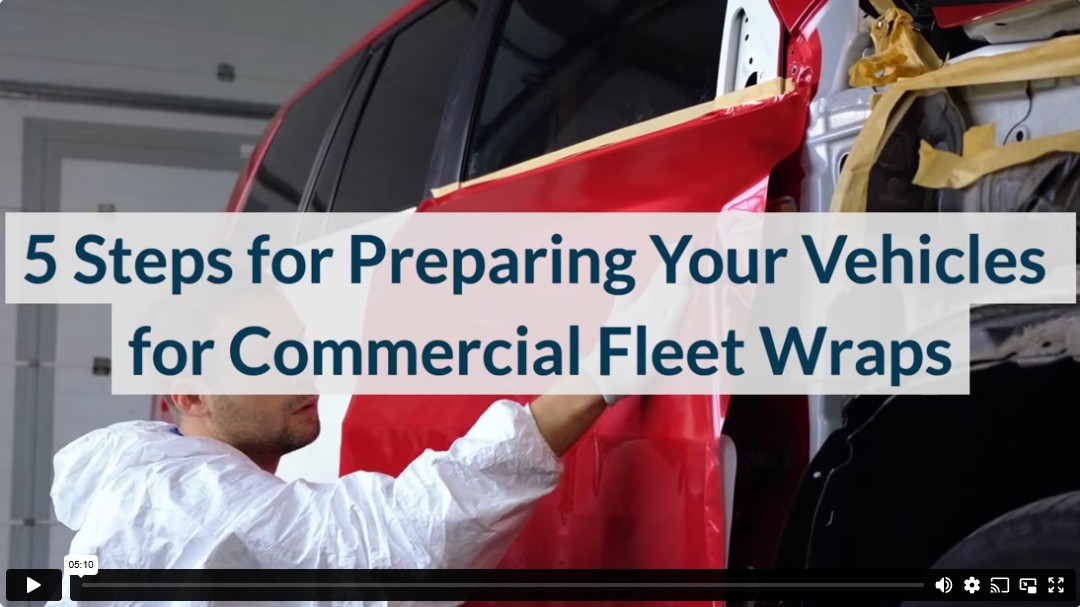
5 Steps for Preparing Your Vehicles for Commercial Fleet Wraps
Installing commercial fleet wraps for your corporate vehicles is an investment in your marketing potential. Aside from the cost of the installation, you’re also paying for the advertising and productivity your company loses while the fleet is in the shop. You don’t want to waste your time or money on redoing a single vehicle.
In this step-by-step guide, we’ll walk you through five essential preparations for the most professionally polished look, the first time and every time.
Step 1: Identify Your Vehicles
Start by identifying which vehicles you want wrapped before contacting a fleet wrap expert. Professionals require key information, such as the make, model, and year of every automobile in the fleet. Fleet wrap experts can wrap everything from vans to fifth wheels to sedans using the specific dimensions of each vehicle. Having the necessary information early allows them to begin the design process immediately.
They also want to know how many units of each model and the total number of vehicles you want wrapped. These numbers enable them to provide you with an accurate bid on the cost and installation time. Having this knowledge also acts as a checklist, so you don’t overlook any of your fleet when it’s time for installation.
Step 2: Inspect For Damage
Before you start wrapping, check each vehicle for any existing damage. Wraps protect the paint job underneath the vinyl, but require a smooth surface for optimal results. Dents, scratches, damaged panels, and rust spots affect the wrap’s appearance and durability.
Inspect each vehicle in your fleet for:
- Dents
- Scratched paint
- Chipped window edges
- Rust spots
- Damaged panels
- Bent trim
- Loose window or door seals
- Etched glass
- Peeling window tint
The smoother the surface, the better the outcome. Many professionals can address minor paint imperfections, but it’s best to ask your expert rather than assume. Address any necessary repairs before the installation to protect your investment and avoid unsatisfactory wraps.
Step 3: Approve Wrap Designs
Once your fleet wrap expert has the necessary information and you’ve arranged any repairs, lock in the wrap design you want for your vehicles. Begin with your internal marketing or graphic design team. They can share logo, font, color, slogan, and image requirements for your brand with the wrap provider.
Once the wrap experts have a design, review it with your team. Compare the design to your other vehicles to ensure a cohesive look. If you’re wrapping a fleet with various models, check that the placement of the logo and contact information is correct on each type.
And discuss materials with your fleet wrap expert. Investing in a high-quality wrap can significantly extend the life of your investment, especially if you live in an area with harsh conditions. For example, custom fleet wrap experts in Las Vegas can recommend UV-resistant materials that work best for vehicles in the desert.
Step 4: Schedule Installation
Scheduling wrap installation for your fleet isn’t quite the same as dropping a personal car off at the auto body shop. You’ll want to stagger the start times for each vehicle so your company can continue to function. Working with the right installer makes this relatively simple.
Top fleet wrap professionals use advanced project management tools to plan installations in phases, minimizing downtime. Look for companies known for efficient turnarounds. Then, your job is to identify which units require priority attention or need to be completed by specific deadlines. Have your list from step one ready to double-check that they haven’t missed any vehicles.
When your schedule is ready, ask your wrap expert for final installation information, like:
- Which location to go to
- Where and when to bring vehicles in
- Who to talk to upon arrival
- How they will communicate with you
- Where and when to inspect finished vehicles
- Who to contact about any issues
Knowing this information puts you on the same page before the real work gets started and makes the entire process faster and easier.
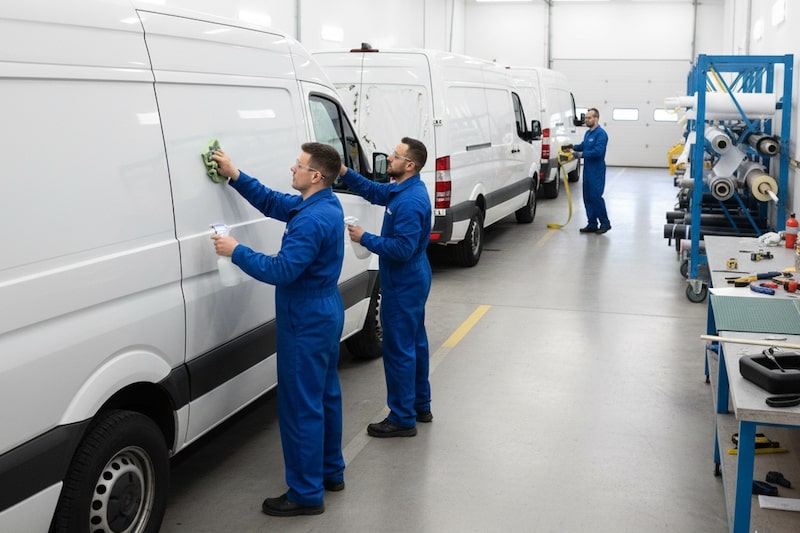
Step 5: Clean the Vehicle Thoroughly
The final step before dropping off your commercial vehicle for its wrap is to clean it thoroughly. A clean surface leads to a smooth, lasting application.
Use a high-quality soap and water to wash the entire vehicle. Remember to clean edges like wheel wells, too. If your vehicle has been exposed to oil or grease, use a degreaser to remove these substances. Grease on the surface causes bubbles or peeling in your wrap over time. After washing and degreasing, thoroughly dry the vehicle with a microfiber towel.
Professionals will inspect the vehicle and may clean the surface before they begin. Check with your provider about their expectations for your fleet, especially if you have to drive in inclement weather for drop-off. Commercial vehicle wrap installers in Salt Lake City, for example, may handle the cleaning process during snowy weather to rinse off the salt and dry off the surface.
Because a clean vehicle surface allows the wrap material to bond correctly, it’s worth the effort to wash and dry it. An ounce of prevention here helps your wrap adhere smoothly and last as long as possible.
Preparation Pays Off
Preparing your vehicles for a fleet wrap can be summarized in five steps. By putting in the work ahead of time, you can help maximize your investment and ensure your fleet rolls out looking flawless and drawing attention. It’s an immediate payoff for your preparation.
Video